Stock Kitchen Cabinets Into Dining Room Buffet
For the eight years I we have lived in our home I have wanted some sort of buffet piece in our dining room. The only problem was it had to be a narrow piece because of the minimal space, and we also had a baseboard electric heater on that wall.
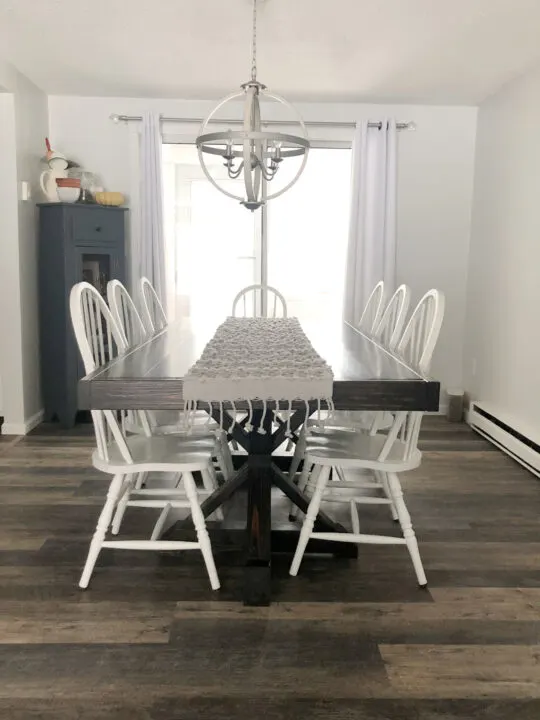
After years of using shelves to fill the space, I wanted my buffet. So after talking to my husband and others I decided to remove the electric baseboard heater. We have never once turned it on to use, since we heat our home with our wood stove it was an easy decision. Once it was removed my options opened up a little more, but it still had to be narrow.
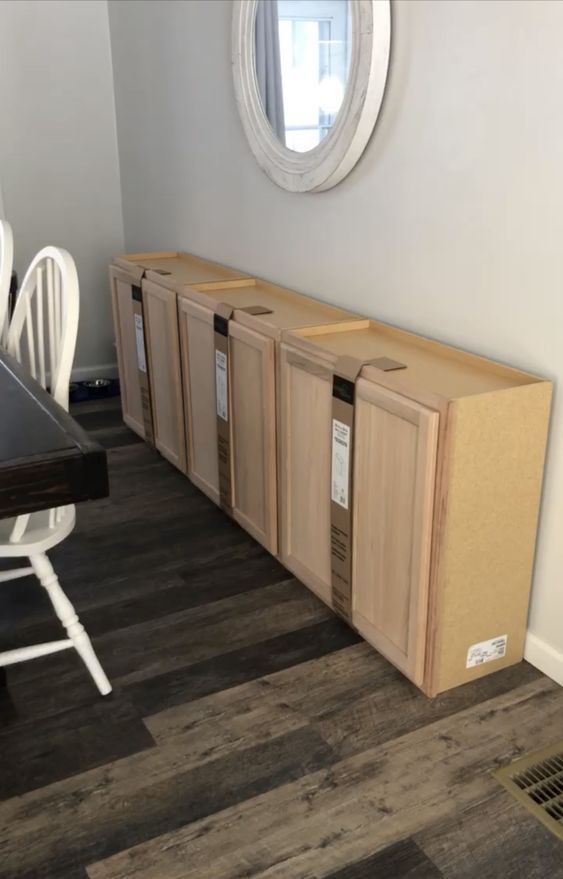
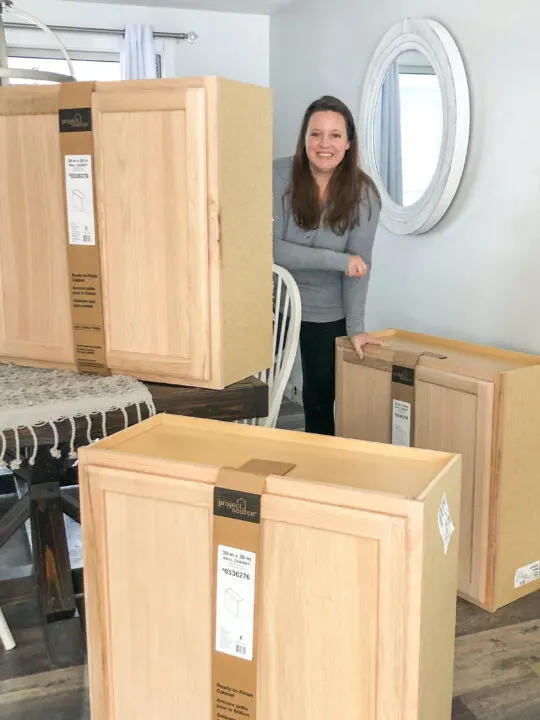
That’s when I decided to build my own out of stock upper kitchen cabinets. They are only 12″ deep and basically built already for me so I knew it would be an easy project.
I also used upper cabinets in our built ins at our cottage as well as other parts of our home. So I had an idea of what I was going to do.
Materials: (varies on size you are building)
- 3 – Stock Upper Kitchen Cabinets (79.98 each – $240)
- 3 – 2x4x8 (6.08 each – $18) Pine
- 2 – 1x4x8 (7.55 each – $23) Pine
- 1 – 1x16x8 Edge Glued Panel for the top ($32.56)
- 1 – 8′ Trim Piece ($5.95)
- 1 Quart Benjamin Moore Advanced paint in Amherst Gray ($23)
- Cabinet Screws ($12)
- Total $ $355 – This price was pre-inflation
Tools Used: (you do not need these tools to create this, it just makes it easier)
- Miter Saw
- Table Saw
- Brad Nailer
- Drill
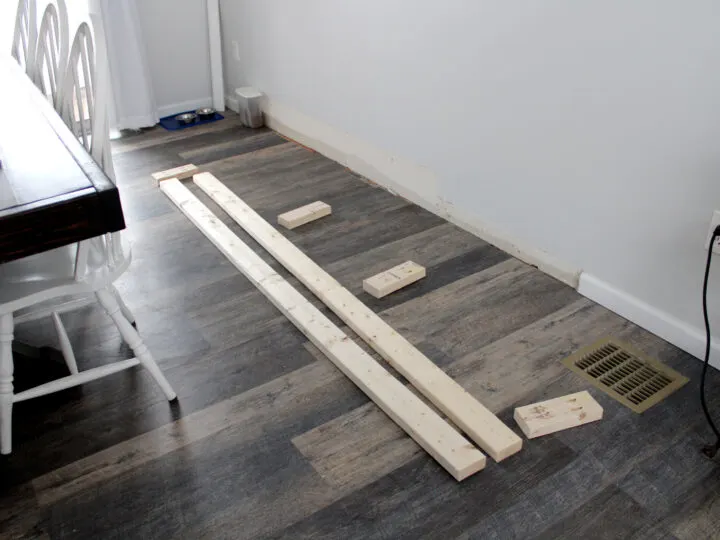
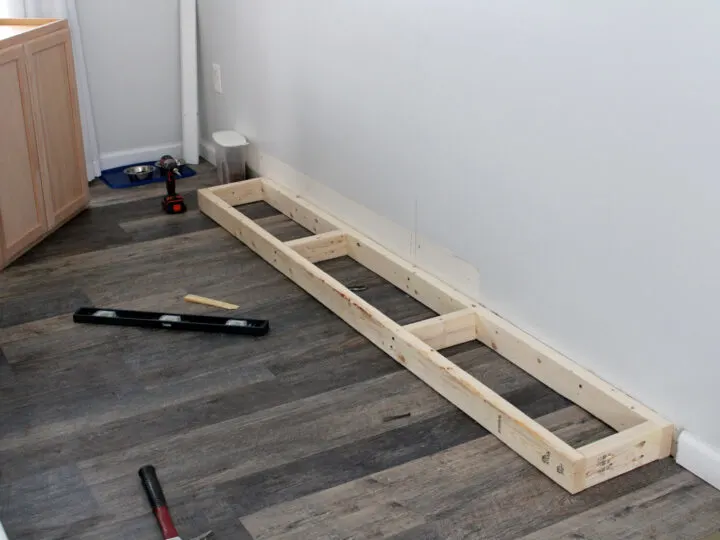
Create a base out of 2×4 the length you need to have the cabinet sit on them flush. See picture. Screw the base into the studs on the wall. I did remove the moulding on the wall to create a built in look.
Place cabinets on top of base, make sure they are level and flush. Screw them together using cabinet screws through the cabinet frames.
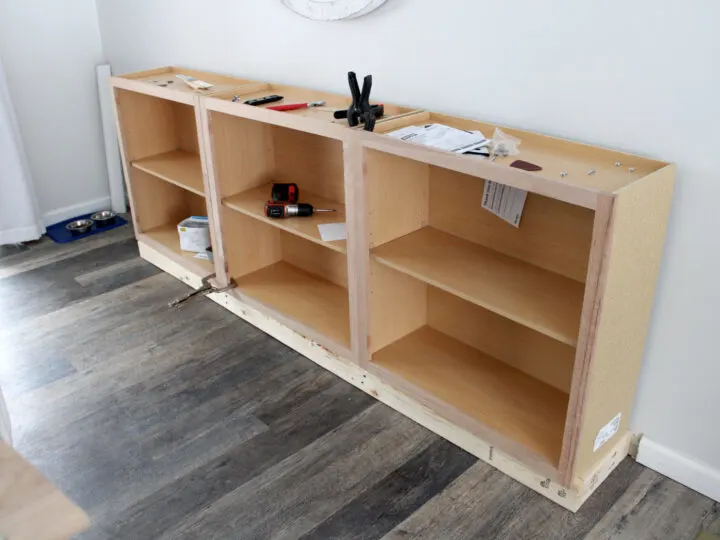
Screw the back of the cabinets into the studs into the wall.
Once secure, cut the 1×4 to length for the front and side trim pieces. I used a beveled edge for the corners. You can absolutely use a butt joint as well. I like the way a beveled corner looks.
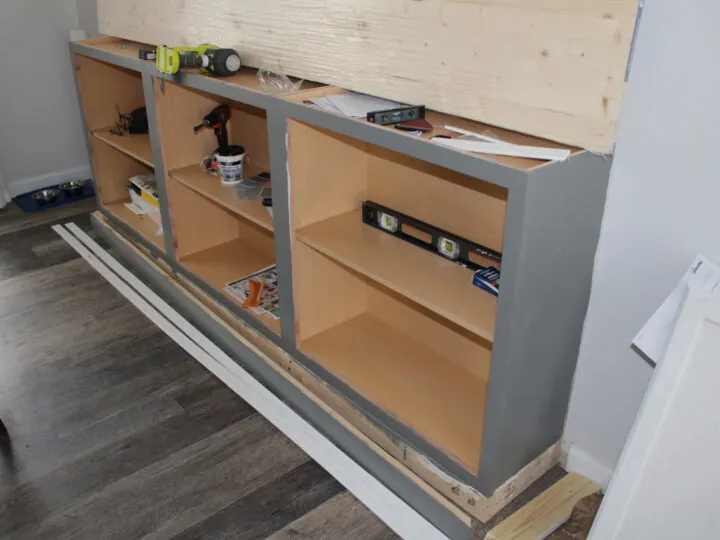
Attach the 1x4s to the 2×4 base with your nail gun (or pre drill pilot holes and use a hammer and finishing nails).
The sides of the cabinet are not flush to the frame so instead of putting a panel there, I used flat trim to create an inlay look.

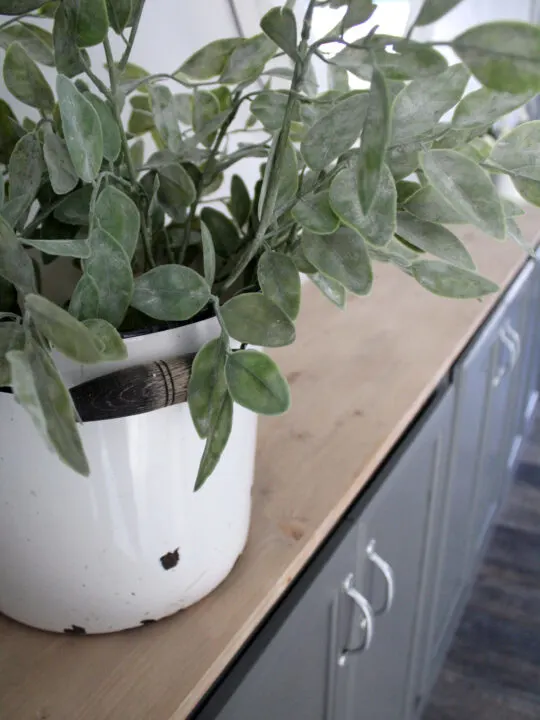
For the top of the Buffet I used an Glue Edge Panel it was 16″ deep and 8′ long. I ripped the board down on my table saw so it was only 12.5″ and not hanging over the top too far. I attached it with my nail gun to the top of the cabinets.
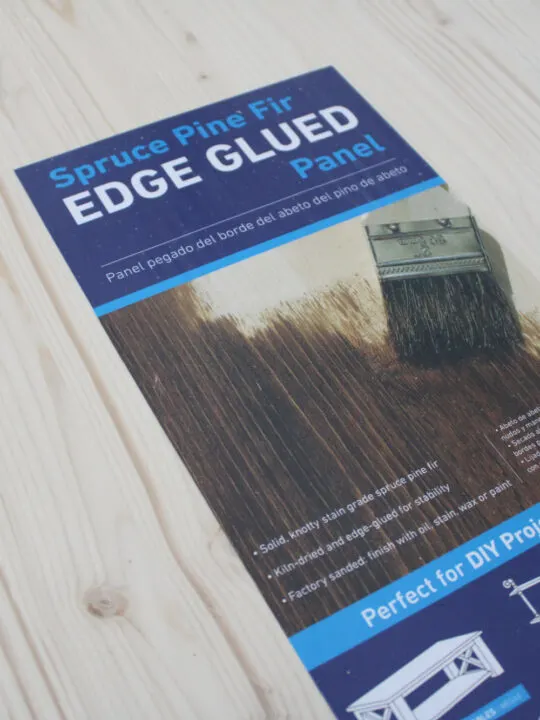
If you don’t have a table saw you could also use a circular saw or even a jig saw.
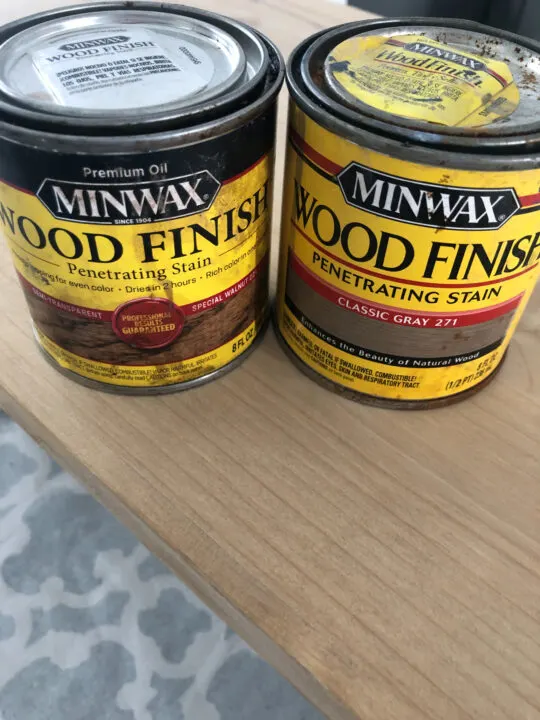
I stained the wood top in a combination of stains to get the natural bleached wood look.
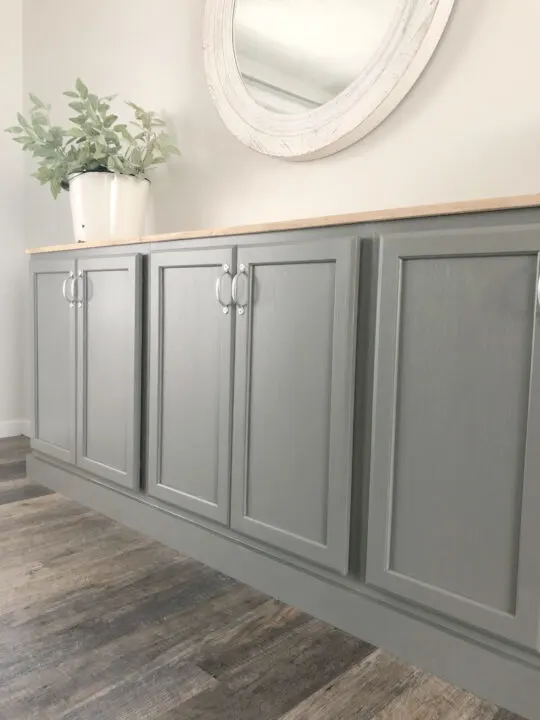
The color for the cabinets is Amherst Gray by Benjamin Moore in their Advanced Paint Line. To me this is the best paint for cabinets and furniture. I have used it in so many projects including our kitchen cabinets.
The handles I wanted a little rustic so I used these galvenized pulls by National Hardware.
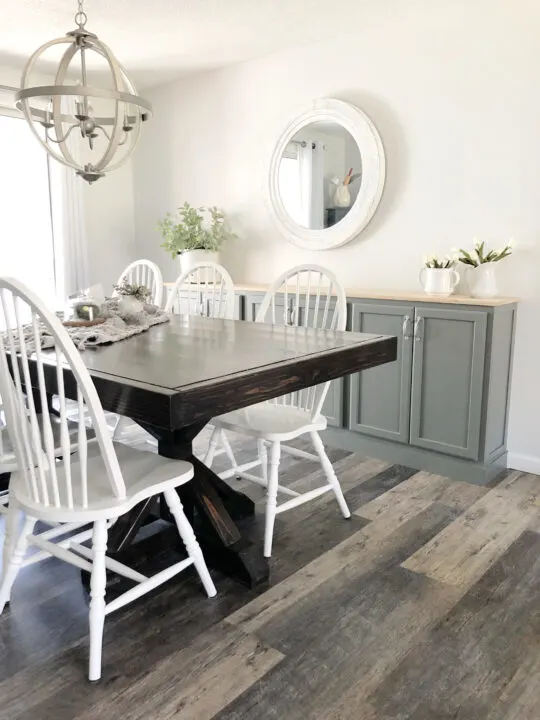
I am obsessed with how this turned out and I should have done it years ago! This is a very easy beginner build and can be built in 1-2 days.