How to Install Quarter Round Moulding

We renovated our house . . . and installed quarter round.
And when we renovated my mom’s house, including installation of vinyl plank flooring . . . and installed quarter round.
We recently added vinyl plank flooring in our basement and will be installing . . . you guessed it . . . quarter round!
Typically, you install quarter round to finish your flooring. It hides the rough edges of your flooring and sort of frames the floor, giving it a clean finished look.
Materials:
- shoe molding
- paint
- paintbrush
- measuring tape and pencil
- miter saw
- nail gun (or hammer)
- finishing nails
- caulk and rag
Now let’s get after it!
Calculating shoe molding:
Measure the length of each wall (the entire perimeter of the room) and convert from inches to feet OR you can measure length and width and multiply. Don’t forget to measure closets or other interior spaces where you plan on adding shoe molding. Add 10% because you will have waste – – just part of the process. Here is a moulding calculator from Lowe’s.
Purchasing shoe molding:
Neal and I really like the PVC quarter round. It is durable, does not have imperfections like wood, is easy to install, and looks great!
Painting shoe molding:
I strongly recommend painting the first coat before you install the quarter round. It saves so much time in the end.
We set up saw horses and painted with a narrow paintbrush. 
Measure and cut moulding:
When you are installing quarter round, measure each section/wall. You will need to be very precise when measuring (time to recall what you learned about fractions in school.)
First, let’s talk about various angles . . .
This is an inside corner.
And this is an outside corner. 
And still more angles…
There are joints on long straight walls also cut at 45-degree angles. Below is an example. The next piece will be also cut at a 45-degree angle but cut opposite so it fits together snuggly and looks like one continuous piece. 
There are also straight pieces that are also cut at a 45-degree angle such as shown in the picture below. Notice that the quarter round ends with the baseboard and thus does not cover the bottom of the door moulding.
Always pay attention when you are measuring from long-end to long-end or long-end to short-end. That really matters when measuring.
As an example, the adjoining piece will need to be measured from the long end. 
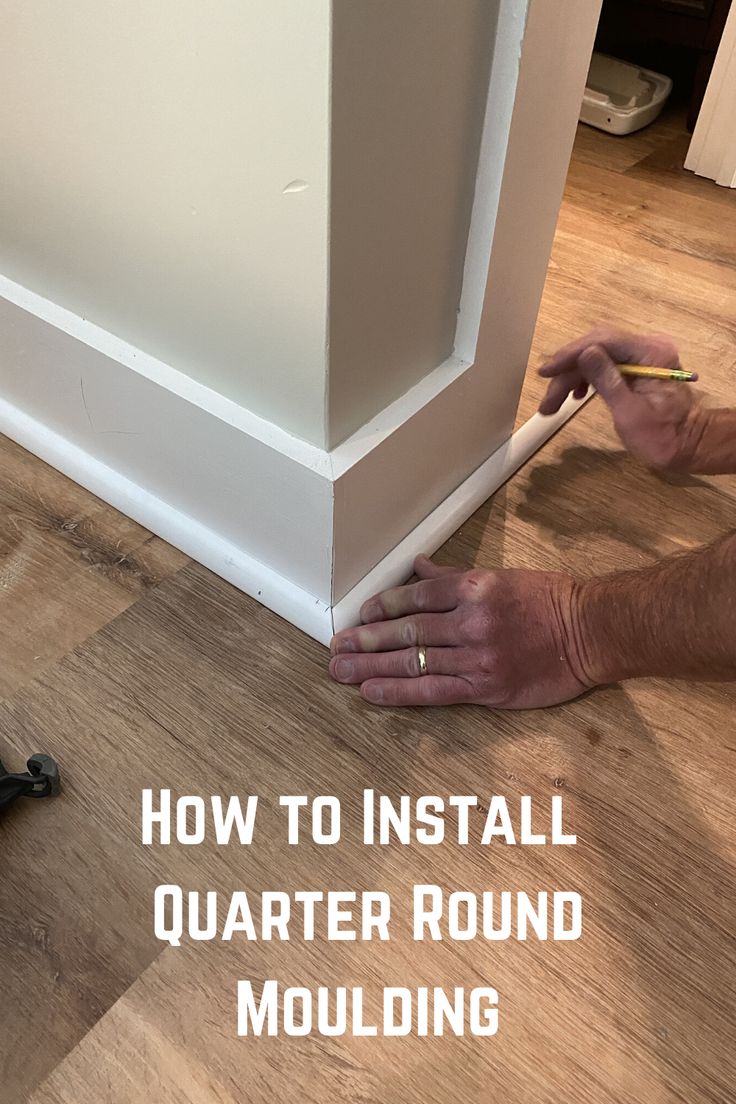
If it is a small piece, you can actually just hold the quarter round in place and mark it with a pencil.
Cutting Quarter Round Moulding
We cut all the angles with our Dewalt miter saw. 
All of the angles are cut 45 degrees.
As experienced carpenters say, “Measure twice and cut once!”
This can be tricky and you might make a few mistakes in the beginning, but you will soon get the hang of it.
Nailing in place:
We use a nail gun and finishing nails. We nail in each piece before measuring the next adjoining piece. This ensures we get an exact measurement for the next piece. 
Caulk and touch up paint:
Use a caulk gun to run a bead of caulk between the baseboard and the quarter round. Smooth it with your finger to fill the crack. Wipe the excess on a wet rag.

Also, use caulk to fill each nail hole and wipe away the excess with a wet rag.
Squirt caulk in each corner joint and in each joint where two pieces join. Wipe away the excess with a wet rag.
Touch up paint every place you caulked (top of the quarter round where you caulked, the joints, and any other spots that were scratch up during installation. (Now you are thankful you painted the first coat before installation.)
Now enjoy how the shoe molding finishes your room!
Don’t forget to Pin this for future reference.
