Don’t discard a favorite piece of furniture because of an unsightly air bubble in the wood veneer. This easy to follow step by step picture tutorial will show you how to remove the bubble before painting or restoring a piece.
Rated: Easy. A beginner can do this.
Time: 5-10 minutes to fix the bubble in the wood veneer plus proper dry time for the wood glue.

Many people will pass on a piece of furniture that has a bubble in its veneer because it looks intimidating to fix but in reality the process is quite simple.
Let’s take a look at this Mid-Century Modern bar I bought while visiting my family over Christmas. The front and sides had the normal wear and tear of a piece that had been stored away and neglected for awhile and the top had the bubble shown in the picture.

Gather your supplies before getting started. You’ll need a sharp razor knife, a small syringe with a large bore needle like this one used for injecting glue, yellow wood glue, a piece of wax paper, a wood board, and a heavy weight. As you can see, my wood glue had separated into two colors with a thin liquid being on top. Gently pound the bottom of the glue bottle on a hard surface a couple of times and then shake, shake, shake until its well mixed.

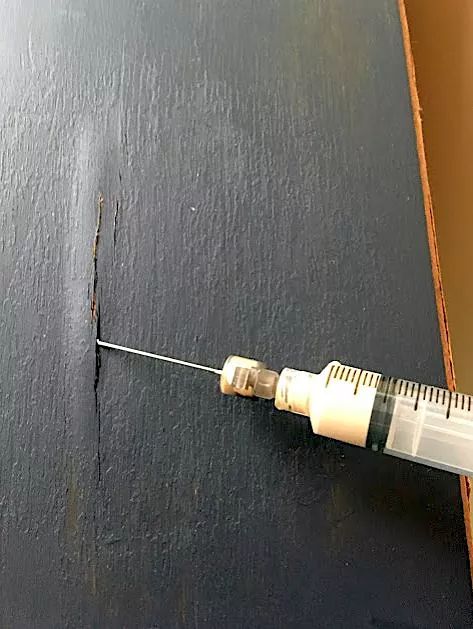
Use the razor knife to slit open the bubble from end to end.

Next, fill your syringe with glue BEFORE attaching the needle. The tip of the syringe is larger than the tip of the needle and this will make it easier to pull the glue up into the syringe.

After injecting the glue, press the edges of the slit down and wipe away any excess glue with a damp rag. Place a piece of wax paper directly on top. Leaked glue shouldn’t stick to the wax paper. Place a wood slab on top of the wax paper (it helps disperse the weight that’s placed on top of the slab), and then add a clamp or heavy object like a dumbbell. Follow the glue manufacturer’s directions for proper dry times.
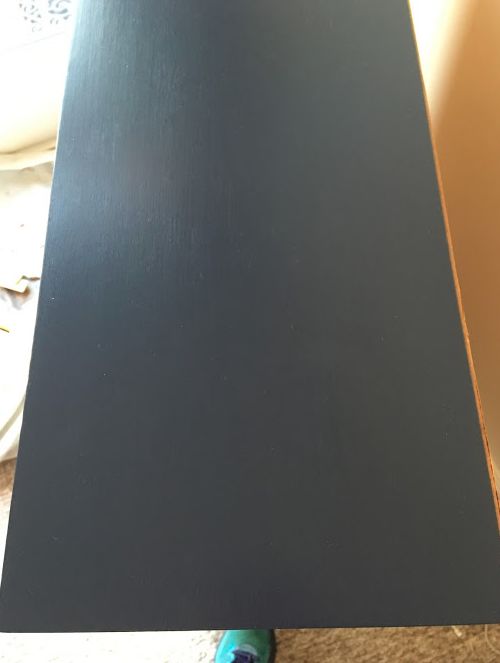
Paint and seal to complete your project.