
Learn sewing secrets that every beginner should know. These sewing tips will save you time and frustration!
Hey y’all, today I’m sharing five sewing secrets that all beginners should know – except a lot of times, no one tells you! Even if you’re the type that reads the manufacturer’s instructions, you might not find these tips. But they will save you time, fabric and frustration if you know them!
I’ve mentioned before that I taught public high school for 12 years as my first career, and in that time I taught a lot of beginners to sew. Which means I also have a good amount of experience in the mistakes that most new sewists make. So if you’re just starting on your sewing journey, keep reading to find out what no one tells you about your sewing machine. And if you’ve been sewing for a while, particularly if you’re self taught, you also might pick up something new from this post.
Sewing Secrets No One Told You
I made a very short video outlining these sewing secrets, which you can watch below or on YouTube here. For more in depth explanations and discussions of each tip, scroll below the video for links to the full posts.
1: Why Does it Keep Unthreading?
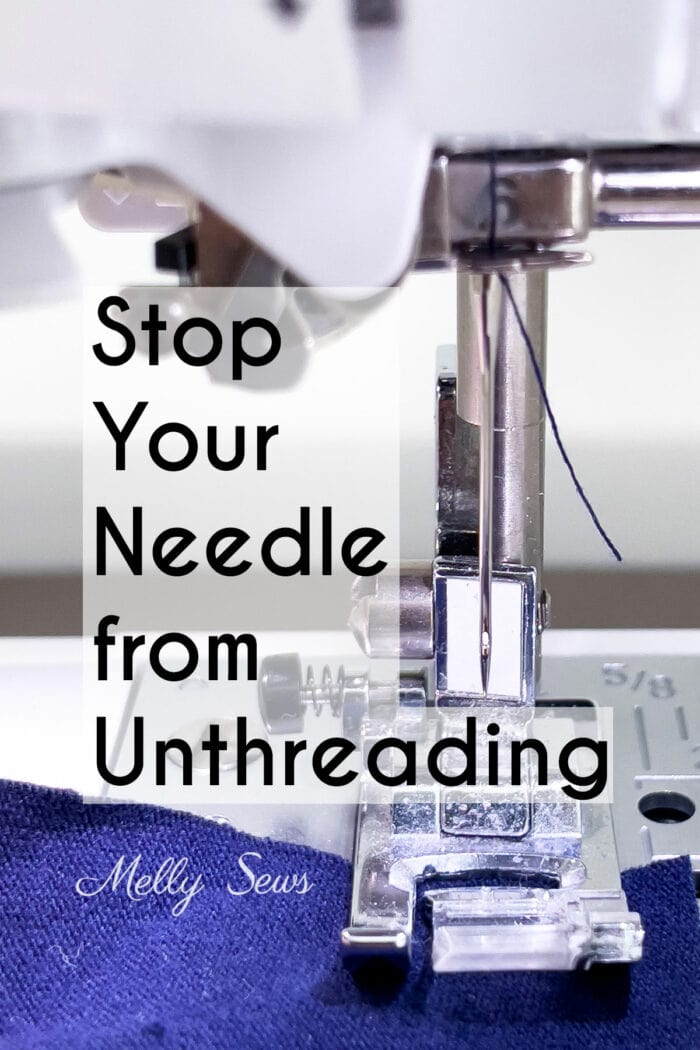
The first thing I knew my beginners would get frustrated with was their sewing machines unthreading. I knew this because this trick is one of the first ones my mom taught me when she started to teach me to sew. On machines that don’t automatically stop with the needle up, you need to hand crank the flywheel until the take up lever is at the top of the machine. This way the take up lever won’t pull the slack out of the thread and unthread your needle when you begin stitching. Check all the details and the step-by-step photographs here.
By the way, if you’re confused about sewing machine part names? See this post. There’s a diagram as well as a video there explaining them.
2: Never Get Stuck
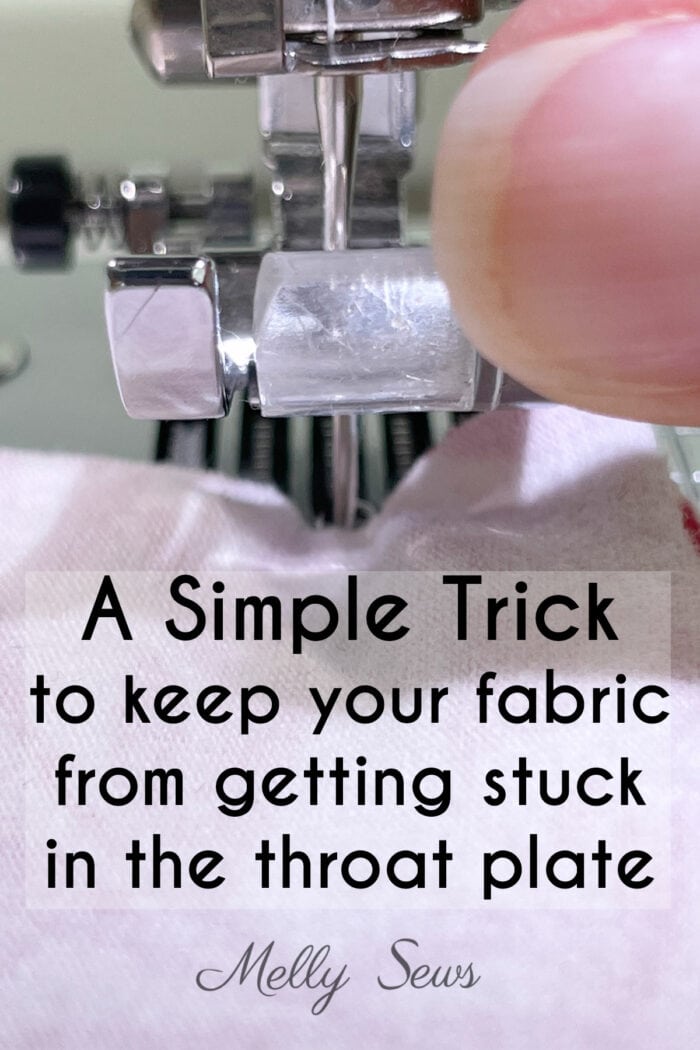
Secondly, beginners might get frustrated and quit if their fabric gets stuck in the throat plate. This is especially common with stretch fabrics. Knit fabrics are particularly prone to catching on even universal needles at the beginning of a seam. And no one wants a mess under the presser foot. But don’t throw your new project in the corner in frustration. There’s a simple fix – just hold your threads to the back as you begin stitching. If you’re not sure how to get the bottom thread from the bobbin area, check out the full post for all the photos and details.
3: Hide Your Needles
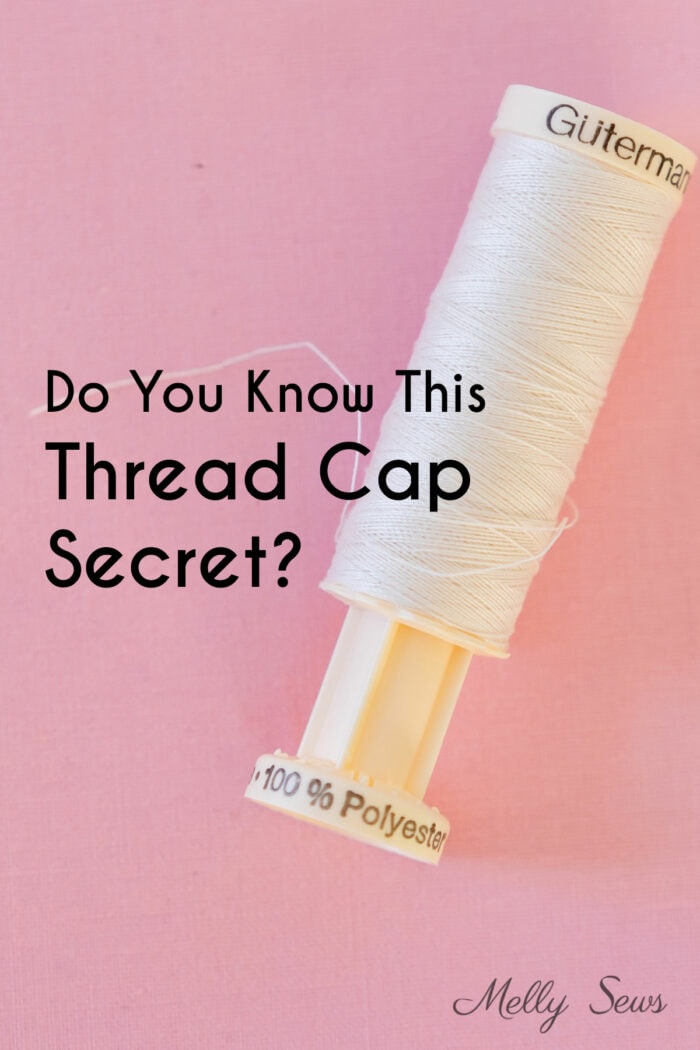
I wrote an entire post about thread, but this secret about the thread spool blows people’s minds because no one told them. You can pop out the top part of the spool on this type of thread. Inside there’s a little compartment to store needles for hand stitching. And you’ll always have them with your thread using this trick! In addition, the cap is designed this way to help you keep your thread from unwinding.
4: The Reason to Have a Ball
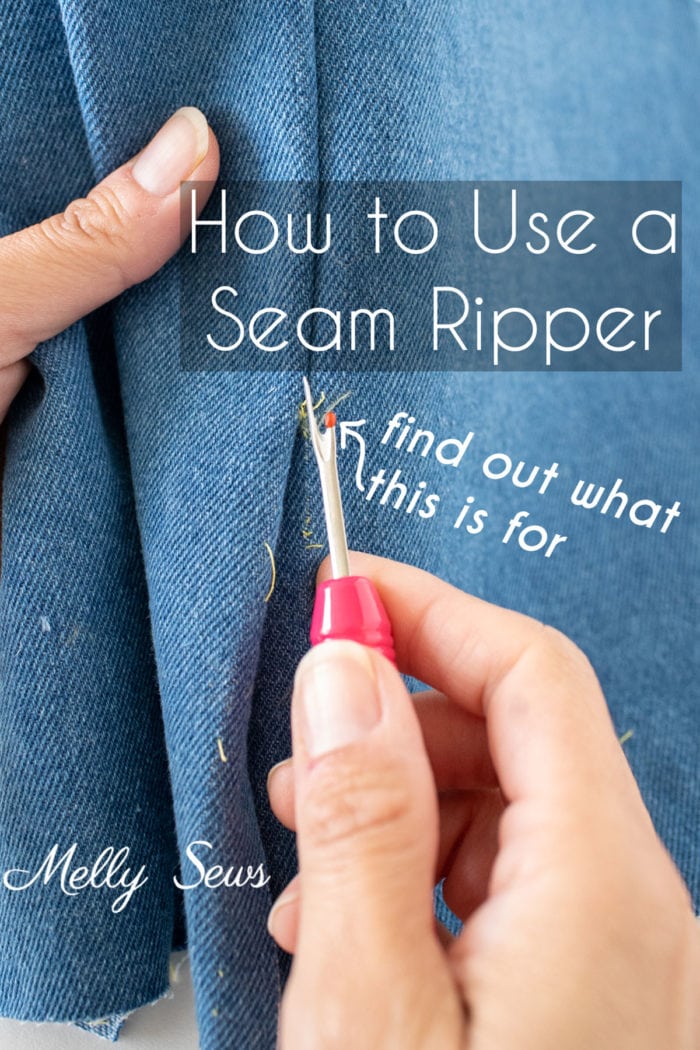
A seam ripper is a must-have tool for sewing, or technically unsewing. But what does that ball tip on the seam ripper do anyway? Most people think that you use the pointy end of the seam ripper and rip stitch by stitch to remove them, but there’s an easier way. Flip the seam ripper over, put the ball tip in the seam and then push the tool through the stitches, quickly cutting them.
There are a few caveats to using the seam ripper this way, For example, this works better with heavyweight fabrics, so make sure to see them all in the fully post and video.
5: Push Me, I’m A Button
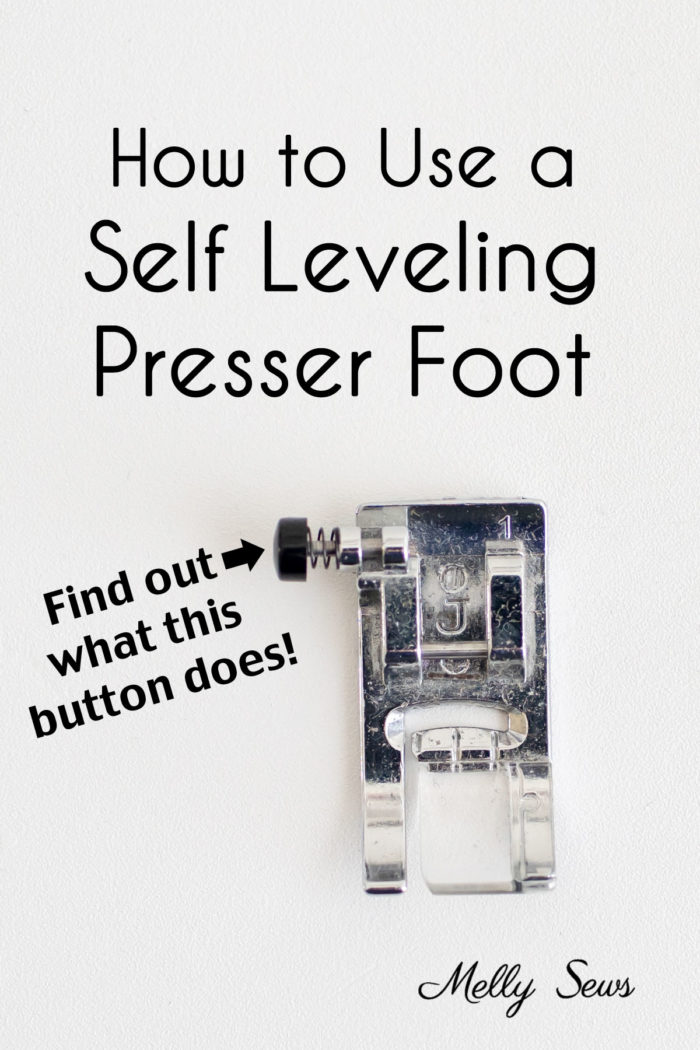
Finally, let me share this secret – that button on the side of your presser foot isn;t decorative. It’s for when you encounter a thick seam allowance. This presser foot self levels, and it helps you get over bumps without having to pull on your fabric. Check out the full explanation of how to use it here.